 HoardIQ
How to Photograph Items for an Insurance Claim
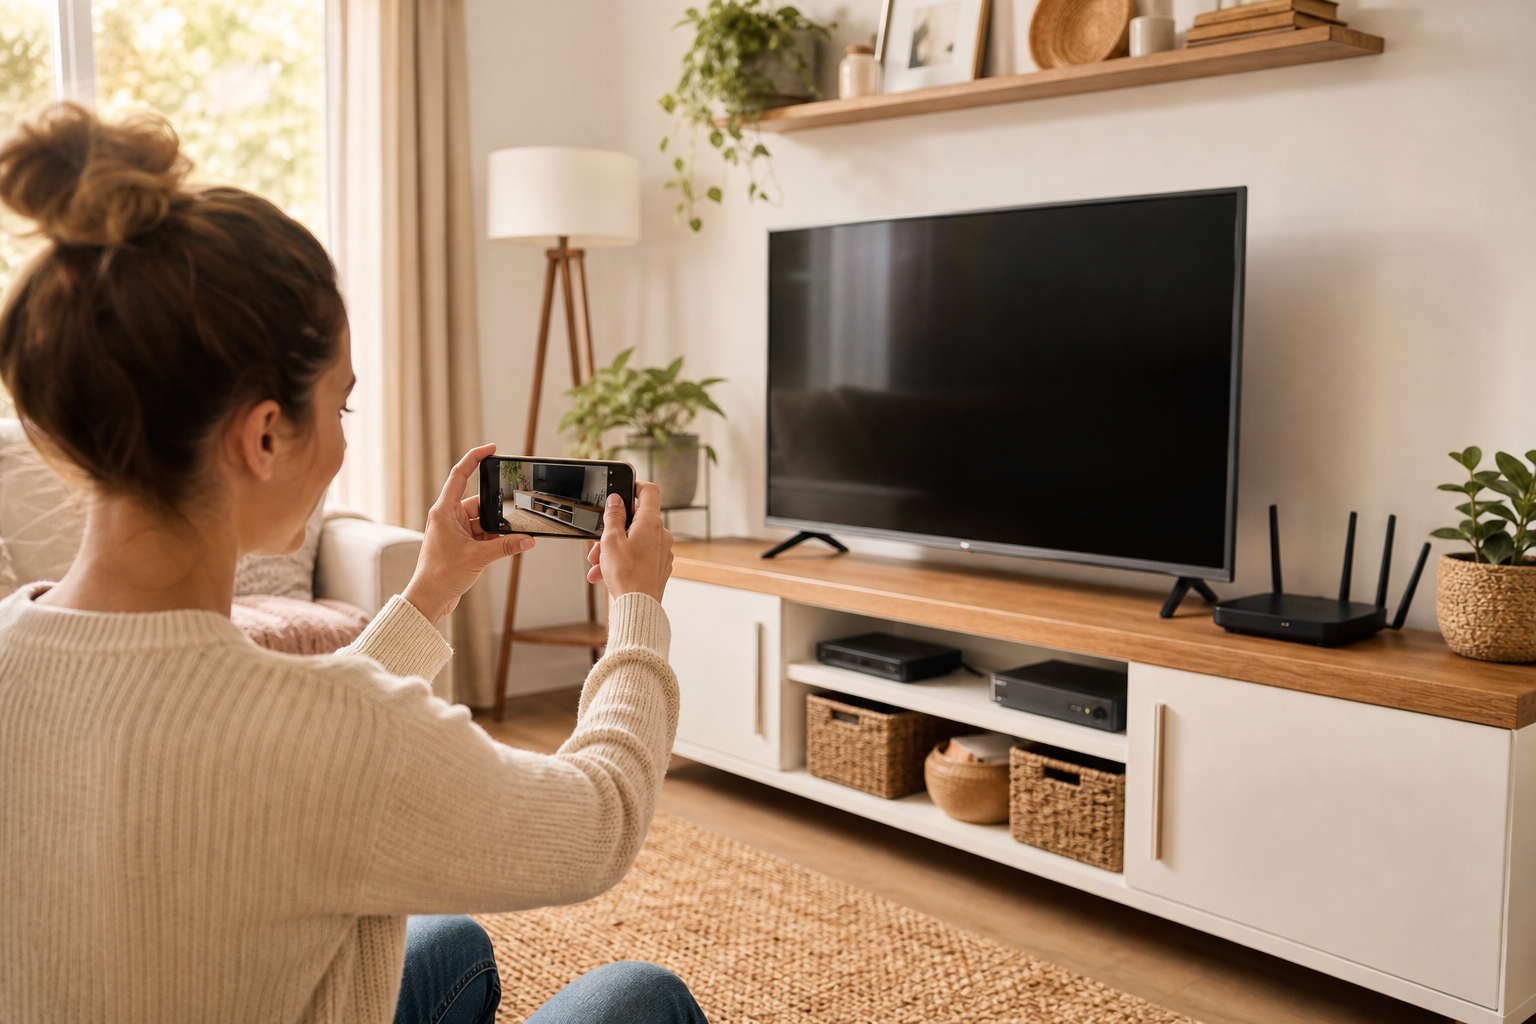
Why Photos Make or Break Your Claim
After a fire, flood, or break-in, your insurance adjuster asks the same question for every item: "Can you prove this existed, and what condition was it in?" Receipts help. Written lists help. But photos are the fastest, most convincing evidence — especially for items you bought years ago and no longer have paperwork for.
The difference between a smooth claim and a disputed one often comes down to photo quality. A blurry shot of a TV tells the adjuster almost nothing. A clear photo showing the brand, model, serial number, and the item in its normal location tells them everything they need.
This guide shows you exactly what to photograph, how to shoot it, and how to organize the results so they are ready when you need them — not after disaster strikes.
What Adjusters Look For in Item Photos
Insurance adjusters evaluate photos against three criteria:
- Identification — Can they tell exactly what the item is? Brand, model, and distinguishing features must be visible.
- Condition — Does the photo show the item's state before the loss? Scratches, wear, and completeness matter for valuation.
- Context — Can they verify the item was in your home? Background context (room, shelf, cabinet) anchors the photo to a location.
A photo that satisfies all three is worth more than a receipt alone. A photo that fails on any one of them may be rejected or downgraded in value.
The Two-Photo Rule
For every valuable item, take at least two photos:
| Photo type | What to capture | Example |
|---|---|---|
| Context shot | Full item in its normal location | Laptop on desk, drill on garage shelf |
| Detail shot | Serial number, model label, or unique identifier | Sticker on back of appliance, engraving on jewelry |
For high-value items (electronics over $500, jewelry, art), add a third photo of the receipt or appraisal if you have one.
Room-by-Room Photography Priority
You do not need to photograph everything today. Start with the items adjusters care about most:
Priority 1 — High value, hard to replace
- Electronics: TVs, laptops, tablets, cameras, gaming consoles
- Appliances: Refrigerator, washer, dryer, dishwasher, microwave
- Jewelry and watches: Include any appraisal documents
- Art and collectibles: Wide shot plus signature or certificate detail
Priority 2 — Moderate value, frequently used
- Power tools: Drills, saws, lawn equipment
- Sporting equipment: Bikes, skis, golf clubs
- Musical instruments: Guitars, keyboards, amplifiers
- Furniture: Couches, beds, dining sets (context shot is enough)
Priority 3 — Cumulative value
- Kitchen equipment: Stand mixers, coffee makers, knife sets
- Clothing: Focus on designer or high-value pieces only
- Seasonal items: Holiday decorations, camping gear stored in garage
Work through Priority 1 first. Even documenting 30–50 high-value items gives you the majority of your claim's dollar value covered.
How to Take Claim-Ready Photos
Lighting
- Natural light is best: Shoot near a window during daytime. Avoid harsh overhead fluorescent light that creates glare on screens and glossy surfaces.
- Use your phone's flash sparingly: Flash can wash out labels and create reflections on metal or glass. If the label is in shadow, move the item instead of flashing.
- For dark areas (closets, garage corners): Use your phone's built-in torch mode to illuminate the label while keeping the camera steady.
Angles and Framing
- Hold the phone level: Tilted photos make serial numbers harder to read.
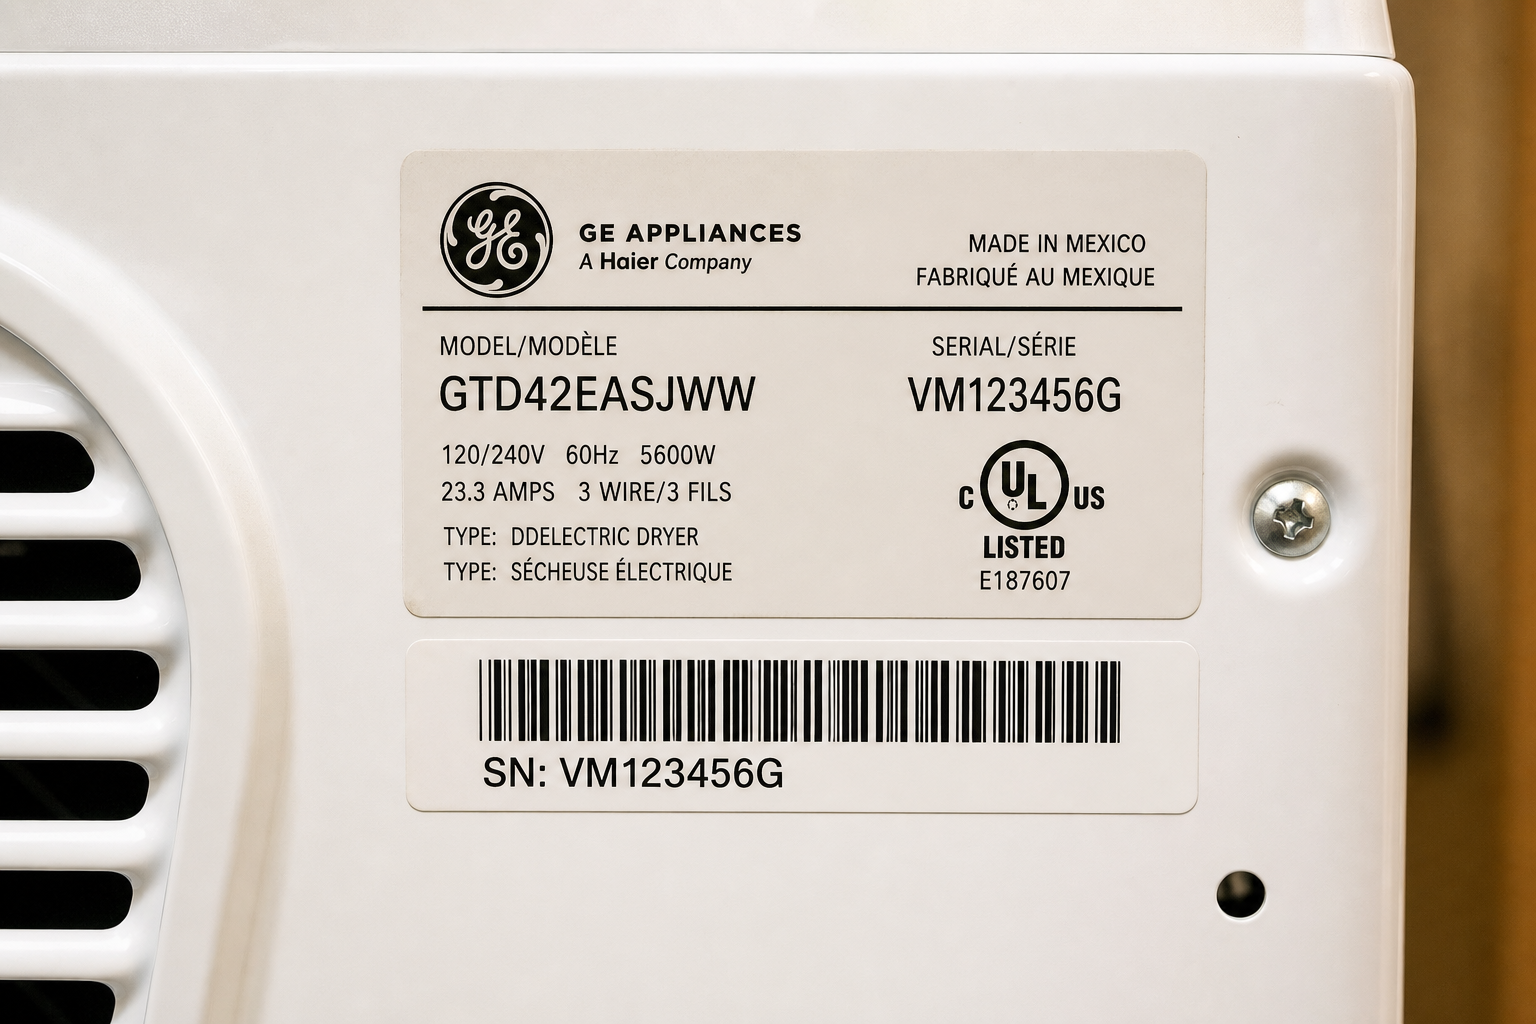
- Fill the frame for detail shots: The serial number label should occupy at least 50% of the image.
- Include scale for context: A wide shot of a bookshelf with books visible helps the adjuster estimate quantity and value.
- Avoid clutter in detail shots: For the serial number photo, crop out unrelated background noise.
Serial Numbers and Labels
Serial numbers are the adjuster's best friend for verifying make, model, and age. Common locations:
| Item type | Where to find the serial number |
|---|---|
| Electronics | Back panel, bottom, or inside battery compartment |
| Appliances | Inside door frame, back panel, or rating plate |
| Tools | Stamped on housing or printed on label |
| Bicycles | Underside of bottom bracket or head tube |
If a label is faded, photograph it anyway and type the number into your inventory notes manually.
Common Photography Mistakes
Only one photo per item: A single wide shot without a detail photo leaves the adjuster guessing at model and age.
Photos taken after damage: Adjusters need pre-loss condition. Photograph items now, while they are intact.
No location context: A photo of a laptop on a white table could be anywhere. Show it on your desk, in your room.
Blurry serial numbers: If you cannot read the serial number in the photo, neither can the adjuster. Retake until it is sharp.
Screenshots of online listings: A screenshot of the product page you bought from is not proof you owned the item. Photograph the physical object.
Waiting until you need it: The worst time to photograph your belongings is after they are destroyed. Build the photo library now.
Organizing Your Photo Evidence
Raw photos on your camera roll are better than nothing, but they become powerful when organized:
Minimum viable organization
- Create a folder per room (Kitchen, Bedroom, Garage)
- Name files descriptively:
kitchen-dyson-v15-serial.jpg - Back up to cloud storage (Google Drive, iCloud, OneDrive)
Better: Link photos to an inventory
- Record each item with its photo attached
- Tag location (room + storage unit)
- Add purchase date and value
- Export as PDF or CSV for the adjuster
Tools like HoardIQ let you photograph an item, let AI identify it, and store the photo with location and value metadata — so your evidence is searchable and exportable, not buried in a camera roll of 4,000 images.
Pairing Photos With Receipts
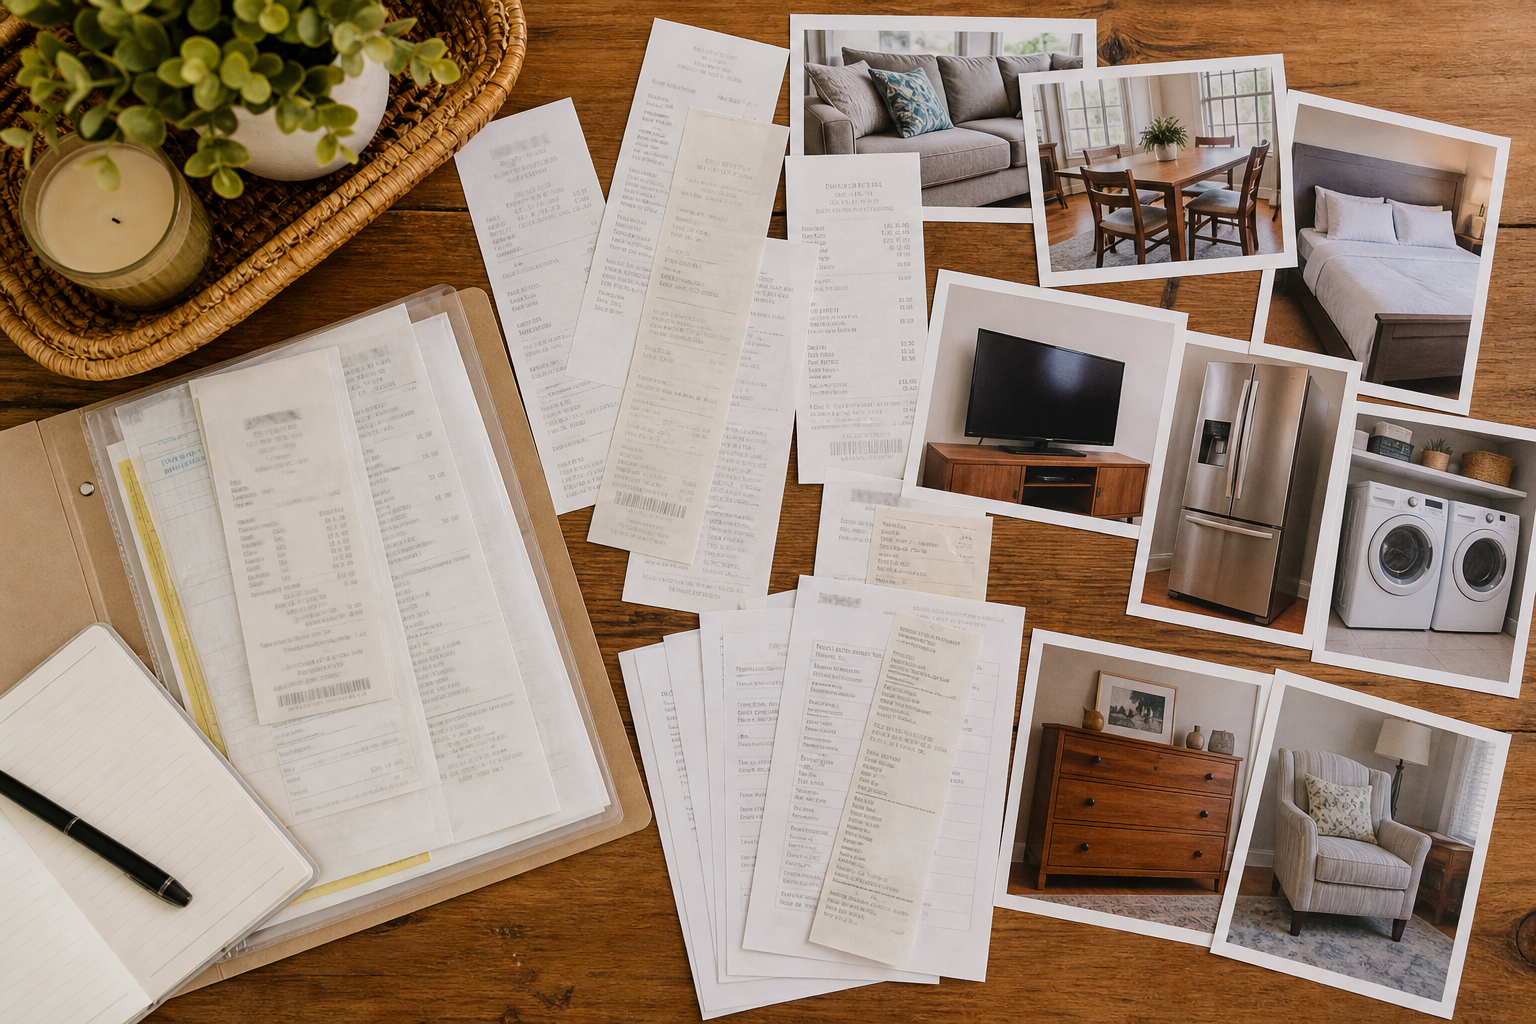
Photos prove an item existed. Receipts prove what you paid. Together, they are nearly unbeatable:
| Evidence type | Proves | Best format |
|---|---|---|
| Context photo | Item existed in your home | JPEG/PNG from phone |
| Detail photo | Make, model, serial number | JPEG/PNG, sharp and well-lit |
| Receipt | Purchase price and date | Photo of paper receipt or PDF from email |
| Appraisal | Current value (jewelry, art) | PDF from certified appraiser |
For items where you have no receipt (gifts, inherited items, very old purchases), the photo plus a written note about origin and estimated value is still valuable.
When to Update Your Photos
Your photo library is not a one-time project:
- After any major purchase over $100 — photograph and record within a week
- Quarterly review — walk one room, update photos for items that have changed condition
- Before renovation — document rooms and contents before walls come down
- Before moving — fresh photos prove condition at origin (useful for renter's insurance too)
Start With Your Most Valuable Room
You do not need to photograph your entire home this weekend. Pick the room with the highest concentration of valuable items — usually the living room (electronics, furniture) or bedroom (jewelry, devices).
Set a 20-minute timer. Photograph 10 items using the two-photo rule. That is enough to prove the approach works and build momentum for the rest of the house.
Your future self — standing in a damaged home with an adjuster on the phone — will be grateful you did this today.
HoardIQ stores item photos with location, value, and serial numbers — and exports insurance-ready PDF and CSV reports in minutes. Start documenting before you need to file a claim.
Ready to organize your home?
Related articles
Home Inventory for Insurance: What to Document and How to File Claims
Create a home inventory that protects your insurance claims. Learn what to document, how to store evidence, and how to file a complete claim after a loss.