 HoardIQ
Home Inventory for Insurance: What to Document and How to File Claims

The Moment You Wish You Had a Home Inventory
Imagine a pipe bursts overnight. By morning, the living room carpet is ruined, the bookshelf has collapsed, and water has soaked through a storage bin of family photos. The insurance company asks: "What was damaged? What was it worth? Do you have proof of ownership?"
If you have a home inventory, the answer is a few taps away. If you do not, you are scrambling through old email receipts, guessing at values, and hoping the adjuster believes your estimates.
This is not a hypothetical scenario. The Insurance Information Institute reports that roughly 1 in 20 homeowners file a property damage claim each year. Being prepared is not pessimism — it is practical sense.
What Insurance Companies Actually Need
When you file a property claim, the adjuster needs to verify three things:
- The item existed (proof of ownership)
- The item's value (at the time of loss, not purchase price)
- The item's location (where it was in your home at the time of the event)
Most homeowners can provide this for big-ticket items (appliances, electronics, furniture) because they remember buying them. The gap is everything else: kitchen utensils, tools, clothing, books, sporting equipment, seasonal decorations, hobby supplies — the thousands of smaller items that add up to thousands of dollars.
The Average Household Gap
A typical middle-class household owns $100,000–$200,000 in personal property (excluding the home itself and vehicles). After a total loss, the average insurance claim covers only 40–60% of the actual value because owners cannot document what they had.
A home inventory closes that gap.
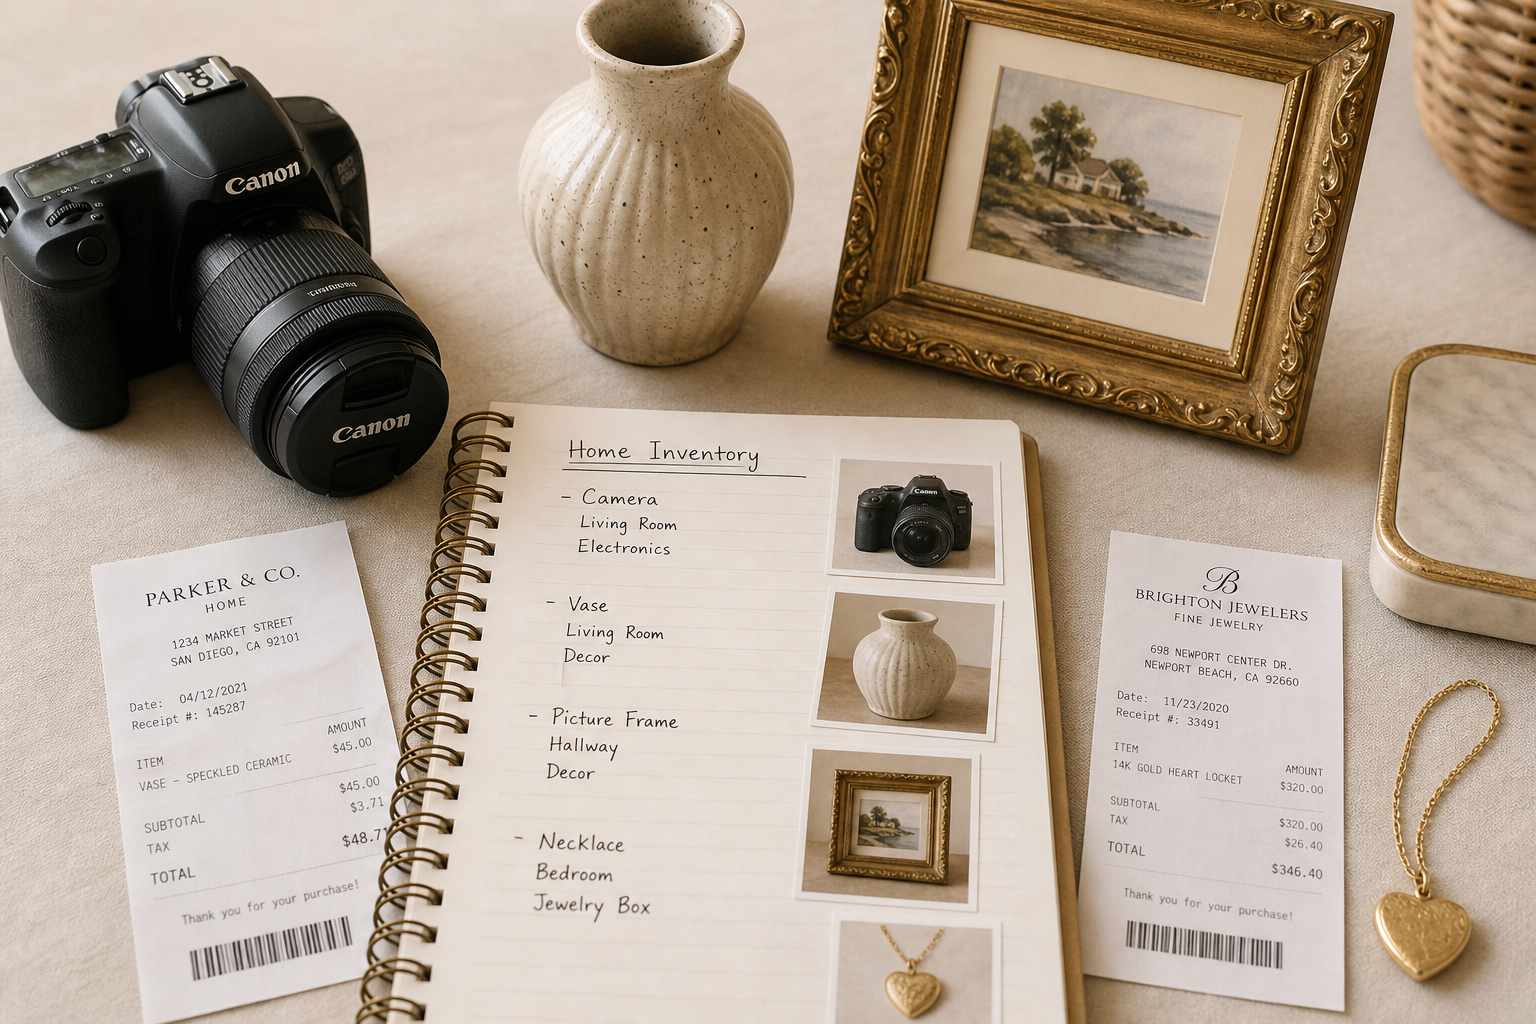
What to Document for Each Item
For insurance purposes, every item should have:
Required Fields
| Field | Example | Why It Matters |
|---|---|---|
| Item name | "Dyson V15 Detect vacuum" | Precise identification for the adjuster |
| Category | Electronics / Home Appliances | Groups items for claim organization |
| Location | Living room, bottom shelf of white cabinet | Proves it was in the damaged area |
| Purchase price | $749.99 | Starting point for value |
| Purchase date | January 15, 2025 | Determines depreciation |
| Photo | Clear image of item in its location | Visual proof of existence and condition |
Recommended Fields
- Serial number (for electronics and appliances)
- Receipt file (photo or PDF of the original receipt)
- Warranty information (may affect replacement cost vs. actual cash value)
- Current estimated value (useful for items that appreciate, like collectibles)
- Tags (e.g., "gift," "antique," "limited edition" — these affect valuation)
How to Build an Insurance-Ready Inventory
Method 1: Room-by-Room Walkthrough
The classic approach:
- Start at the front door, work clockwise through each room
- For each room, open every drawer, cabinet, and closet
- Photograph each item and record its details
- Note the specific location within the room
Pros: Thorough, methodical Cons: Time-intensive (a full home takes 10–20 hours) Best for: Annual full inventory updates
Method 2: High-Value First
Prioritize items that matter most for claims:
- Category A — High value, hard to replace: Jewelry, art, collectibles, electronics
- Category B — Moderate value, frequently searched: Kitchen appliances, tools, sporting equipment
- Category C — Low individual value, high cumulative value: Clothing, books, kitchenware, decorations
Start with Category A, work down. Even documenting only Categories A and B gives you 80% of the insurance coverage value.
Pros: Fast, focuses on highest-impact items Cons: Misses the cumulative value of lower-tier items Best for: Getting started quickly
Method 3: AI-Assisted Capture
The most efficient modern approach:
- Open your inventory app
- Photograph a shelf, drawer, or area
- AI identifies items automatically and suggests entries
- Review, approve, and refine
- Move to the next area
This reduces per-item time from 3–5 minutes to under 30 seconds. For a household with 500+ items, the difference between manual entry and AI-assisted capture is the difference between finishing and giving up.
Where to Store Your Inventory
Storage matters because the inventory is useless if it is lost in the same disaster it protects against.
Do
- Cloud-based storage: Accessible from anywhere; survives local disasters
- Multiple copies: Keep a copy with a trusted family member or in a different physical location
- Export regularly: Generate CSV/PDF exports and store them separately (email to yourself, cloud drive)
Do Not
- Store only on your phone (phone can be lost, damaged, or stolen)
- Store only in your home (defeats the purpose after a fire or flood)
- Keep the only copy in the same app without export (service could shut down)
The Gold Standard
- Store your primary inventory in a cloud-connected app (like HoardIQ)
- Generate a PDF export quarterly
- Email the PDF to yourself (creates an offsite backup in your email)
- Keep a printed copy in a fireproof safe for the most critical items
Filing a Claim With Your Inventory
When disaster strikes, follow this process:
Step 1: Ensure Safety First
Do not enter a damaged structure until it is safe. Take photos from outside if necessary.
Step 2: Document the Damage
Photograph everything before cleaning up. Wide shots of rooms, then close-ups of damaged items.
Step 3: Pull Your Inventory
Open your inventory app and filter to the affected rooms. Export a report for the damaged area.

Step 4: Cross-Reference
Match your inventory records to the damage:
- Item in inventory + visible damage = documented claim
- Item in inventory + no visible damage = include but note condition
- Item missing entirely (stolen, swept away) = inventory proves existence
Step 5: Submit
File the claim with:
- Your inventory export (CSV or PDF)
- Photos of damage
- Receipts for high-value items (if available)
- Any additional documentation (warranties, appraisals)
Step 6: Follow Up
Keep a copy of everything you submitted. Track the claim status and respond promptly to adjuster questions. Your inventory makes this process faster because everything is already organized.
Common Insurance Claim Mistakes
Underreporting: Without an inventory, you forget the items you rarely see. A full inventory catches the items in the back of closets, in storage bins, and in the garage.
Vague descriptions: "Kitchen stuff — about $2,000" does not convince an adjuster. An itemized list with photos does.
No proof of value: A photo of the item proves it existed; a receipt or purchase record proves what it was worth. Always keep both.
Outdated inventory: An inventory from 2020 does not reflect items purchased since then. Update quarterly or after any major purchase.
Single copy: If the inventory is stored only on the device lost in the disaster, it is gone. Always back up offsite.
The Bottom Line
A home inventory is the single most valuable document you can have when filing an insurance claim. It transforms a weeks-long guessing game into a structured, provable submission. The time you invest in building one pays for itself the moment you need it.
Start with your most valuable room. Document 20 items today. Build from there. Your future self — and your insurance adjuster — will thank you.
HoardIQ makes insurance documentation effortless. Photograph your items, let AI identify them, and generate insurance-ready PDF and CSV exports in minutes. Build your inventory before you need it.
Ready to organize your home?
Related articles

How to Photograph Items for an Insurance Claim
Learn how to photograph household items for insurance claims. Capture serial numbers, receipts, and condition proof so adjusters approve your claim faster.