 HoardIQ
How to Create a Home Inventory: The Complete Guide for 2026

Why Every Household Needs a Home Inventory
Walk into any closet, garage, or storage room and ask yourself: what exactly is in here? For most households, the answer is a vague memory and a half-guess. Without a structured system, items accumulate, duplicates pile up, and valuable belongings disappear into the back of drawers.
A home inventory solves this. It is a structured record of what you own, where it lives, and what it is worth. When done well, it lets you find any item in seconds, prove ownership after a loss, and finally use every inch of your storage space without anxiety.

The Hidden Cost of Not Knowing What You Own
Before diving into the "how," consider the real cost of an unorganized home:
- Duplicate purchases: The average household spends $200–$400 per year on items they already own but cannot find (batteries, cables, tools, chargers)
- Underused storage: Most homes operate at 40–50% storage capacity because residents are afraid they will not find things if they store more
- Insurance gaps: After a fire, flood, or theft, you need proof of ownership and value for every claim — most people cannot provide it
- Time wasted: Searching for items across cluttered spaces adds up to hours per week
A home inventory eliminates all four problems with one system.
Step 1: Start With Your Home Structure
The most effective inventories follow a natural hierarchy that mirrors how your home actually works:
Home → Room → Storage Unit → Section → Item
Room is obvious: kitchen, bedroom, garage, living room.
Storage Unit means the physical furniture or area: a dresser, a kitchen cabinet, a shelf unit, a closet.
Section is a subdivision within that unit: top shelf, bottom drawer, left compartment.
This three-level nesting gives you precise location tracking without being overwhelming. You do not need to catalog every screw — you need to know where things are at a level that helps you find them fast.
Practical Example
Instead of recording "hammer — somewhere in garage," a well-structured inventory looks like:
- Home: Main house
- Room: Garage
- Storage Unit: Tool cabinet (red, against west wall)
- Section: Top shelf — power tools
- Item: DeWalt 20V cordless drill, purchased March 2025, $129
When you need that drill, you walk directly to it. No searching. No guessing.
Step 2: Capture Each Item
For each item, record the essentials:
| Field | Why It Matters |
|---|---|
| Name | The primary identifier — "KitchenAid Stand Mixer" not "mixer" |
| Category | Enables filtering (Kitchen, Electronics, Tools, Clothing, etc.) |
| Location | Room + storage unit + section |
| Value | Purchase price or current estimated value — critical for insurance |
| Purchase Date | Tracks age, warranty eligibility, and depreciation |
| Photos | Visual evidence for identification and insurance claims |
| Tags | Freeform labels for cross-cutting searches ("fragile," "seasonal," "warranty") |
| Notes | Anything else: serial numbers, special care instructions, where the receipt is |
The Photo Question
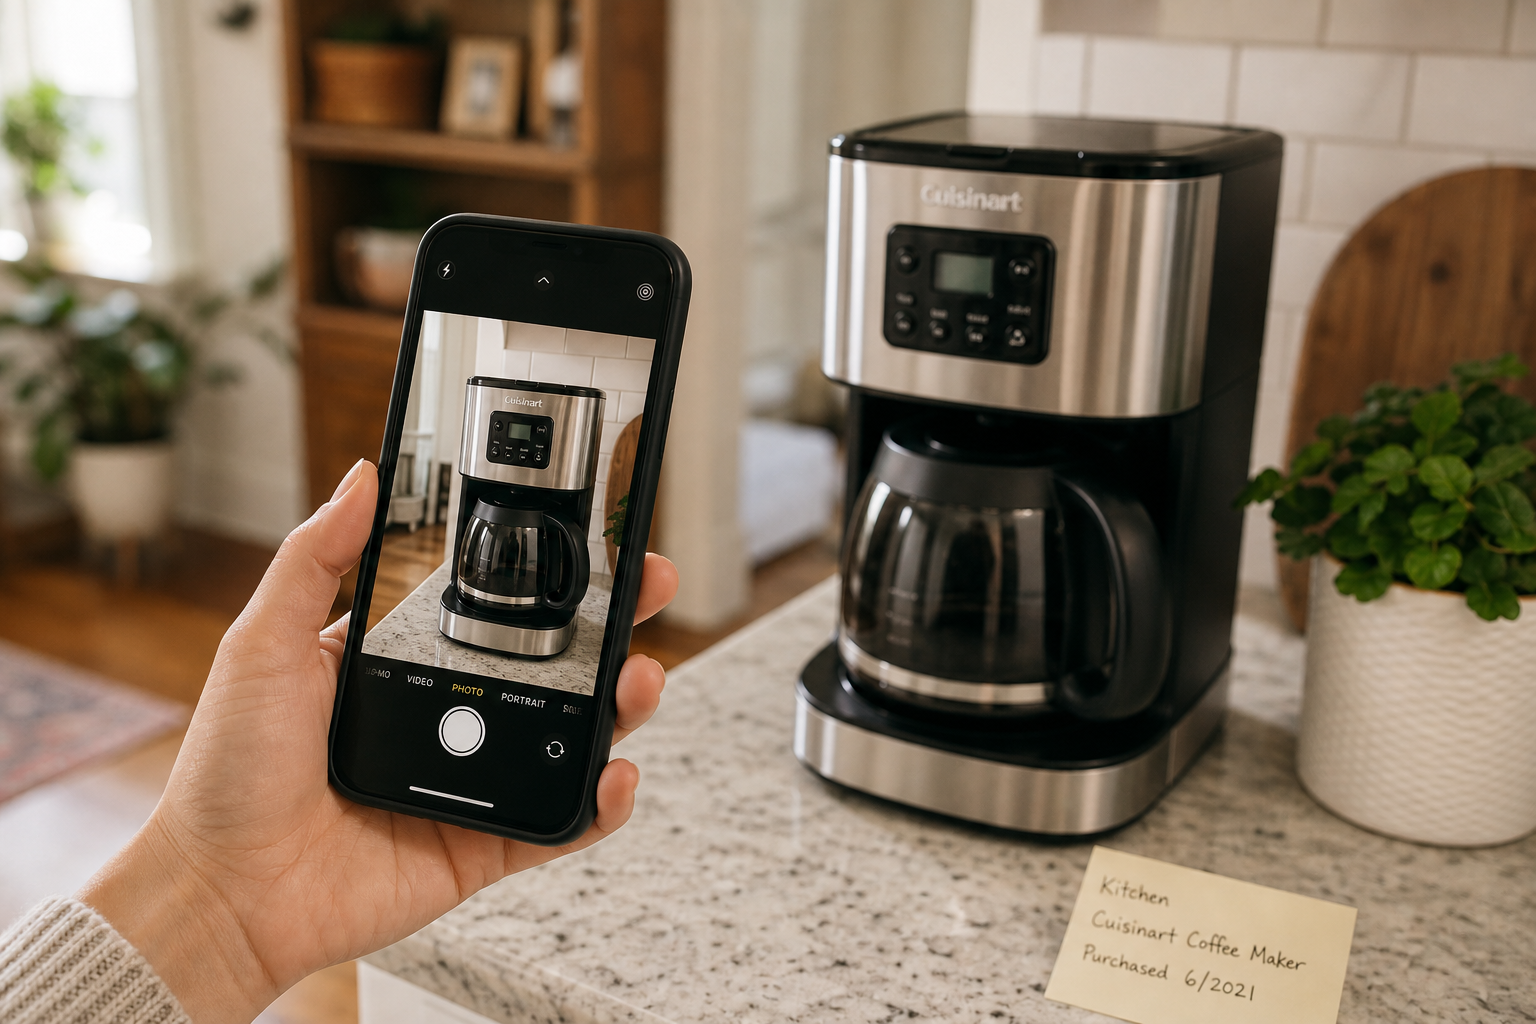
Photos are the single most valuable part of an inventory. A photo proves existence, condition, and identity in a way text never can. The best practice:
- Take a clear photo of each item in its stored location
- Capture any serial numbers, model numbers, or brand labels
- Store photos alongside (or linked to) the inventory record
Step 3: Use AI to Speed Things Up
Manually entering hundreds of items is tedious. Modern inventory tools use AI-assisted capture to reduce the effort dramatically:
- Snap a photo of an item or an entire shelf
- AI analyzes the image and suggests item names, categories, and descriptions
- You review and approve — or refine the suggestion with a hint
- The item is created in your inventory with location and photo attached
This "capture first, review later" workflow turns a weekend project into a series of five-minute sessions. Snap a shelf, approve the items, move to the next shelf. The AI handles the data entry; you handle the decisions.
Step 4: Organize Room by Room
The key to finishing a home inventory is not trying to do everything at once. Follow this sequence:
- Start with high-value rooms: Kitchen and living room typically have the most valuable and most-searched items
- Tackle one storage unit at a time: Finish one cabinet before moving to the next
- Use a consistent naming convention: "Top shelf," "Second drawer," "Left compartment"
- Set a daily target: 10–20 items per session is sustainable; 200 is not
Most households complete a basic inventory in 2–4 weeks working 15–20 minutes per day.
Step 5: Make It Searchable
An inventory you cannot search is just a list. The whole point is fast retrieval. Your inventory system should support:
- Text search: Type "drill" and find every drill in your home instantly
- Category filters: Show only kitchen items, electronics, or tools
- Tag-based grouping: Filter by "fragile," "seasonal," "under warranty"
- Location-based browsing: Navigate your home hierarchy visually
The goal: answer "where is my [thing]?" in under 5 seconds.
Step 6: Keep It Updated
An inventory only works if it stays current. Build these habits:
- When you buy something: Add it immediately (AI capture makes this fast)
- When you move an item: Update its location
- When you dispose of something: Remove or archive it
- Monthly check-in: Spend 10 minutes reviewing and updating
The barrier to maintenance is effort. If adding an item takes more than 30 seconds, the system will not survive. This is why AI-assisted capture matters — it keeps the friction low enough for real-world use.
The Insurance Angle
Beyond daily organization, a home inventory is your most powerful tool for insurance claims. After a loss, you need to prove:
- What you owned (item name, photo, description)
- When you bought it (purchase date)
- What it was worth (value at time of loss)
- Where it was (location in your home)
A structured inventory provides all four automatically. Most insurance companies accept exported reports (CSV or PDF) with photos as supporting documentation.
Pro tip: Generate an insurance export before you need it. Update it quarterly. If disaster strikes, you will have a complete, organized claim ready in minutes instead of weeks.
Getting Started Today
The hardest part of any home inventory is starting. Here is your action plan:
- Pick one room — start with the room you spend the most time in
- Choose your tool — HoardIQ is built specifically for this: AI-assisted capture, hierarchical organization, photo evidence, and instant search
- Set a timer for 15 minutes — catalog what you can, pick up tomorrow
- Do not aim for perfection — a partial inventory is infinitely better than none
Your home is full of things that matter. Knowing what you have and where it lives is not just organization — it is peace of mind.
HoardIQ helps you organize your home with AI-assisted item capture, searchable location mapping, and insurance-ready exports. Start organizing today.
Ready to organize your home?